MODIFICATION for Side Angle (Utthita Parsvakonasana) and,
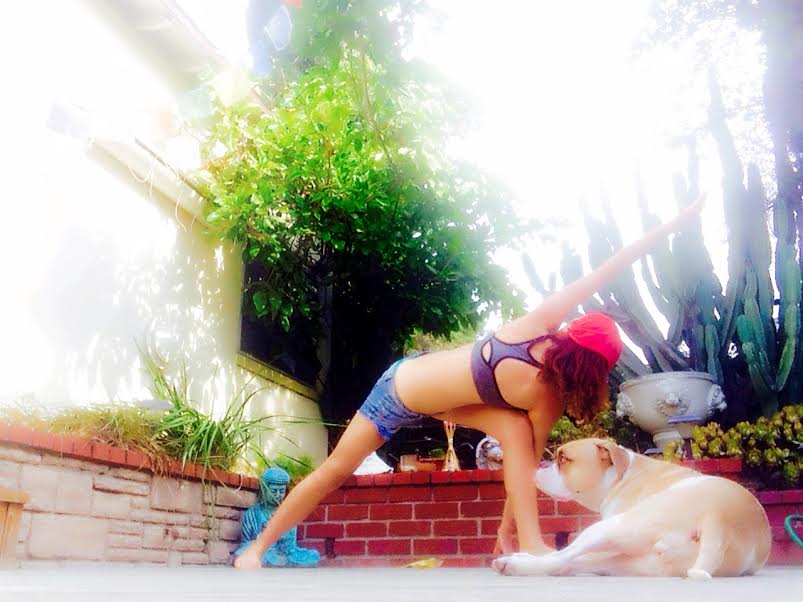
Side Angle Revolved (Parivrtta Parsvakonasana)
written by Laura (The Awesome Goddess, yogi, artists, public servant, wife, mother and grandma of 24 soon to be 25 lucky, if Ali may say so grandkids) Miller, PhD
laura revolved side angle!
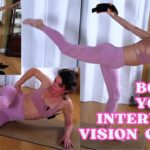
Utthita Parsvakonasana (Extended Side Angle Pose) – This pose is essentially stretching both of your sides and the top to the bottom of your body. It is heaven for a body that has been at rest for a while. This is a very energizing pose. The main focus of this pose is to train the muscles of the legs to stabilize while you are rotating and expanding the sides of your torso and rib cage. This is also a very advantageous posture to work with while learning to stabilize your breath using pranayama. Side angle is an excellent pose for toning the muscles that run from the tips of your fingers to the tips of your toes…in other words all of the muscle groups that run along the sides of the body. It is a frequently used posed in all yoga disciplines. This post is to assist you with a modification until you are able to practice the full extension of the pose.
Ali here: Side angle pose teaches us on spiritual level to be fluid and able to adapt to any conditions, to stand still, to be strong; as well as it cultivates within us the ability to let go when we need to. Sometimes we tend to hold on to things that no longer serve us and no longer provide the nurturing and conditions needed for our growth. This pose allows us to learn this in a very mindful, subtle way so the imprint of the lesson goes deep within our soul and cells rather than something we recite along with a self help book.
On a superficial level this pose will TONE YOUR ABS, OBLIQUES. It will remove belly fat and especially the extra fat on the back of your waist also referred to as muffin top. /
1. Step the legs wide apart and bend the front knee (check to make sure your front knee in bent at a 90 degree angle). Do not let the knee press further forward than the ankle and the foot.
2. Make sure the straight leg in back is parallel to the floor. Make sure your knee and toes are pointing in the same direction.
3. Your front leg is bent and your back leg is straight with your back foot’s outer edge is pressed firmly to the floor (as in Warrior 1).
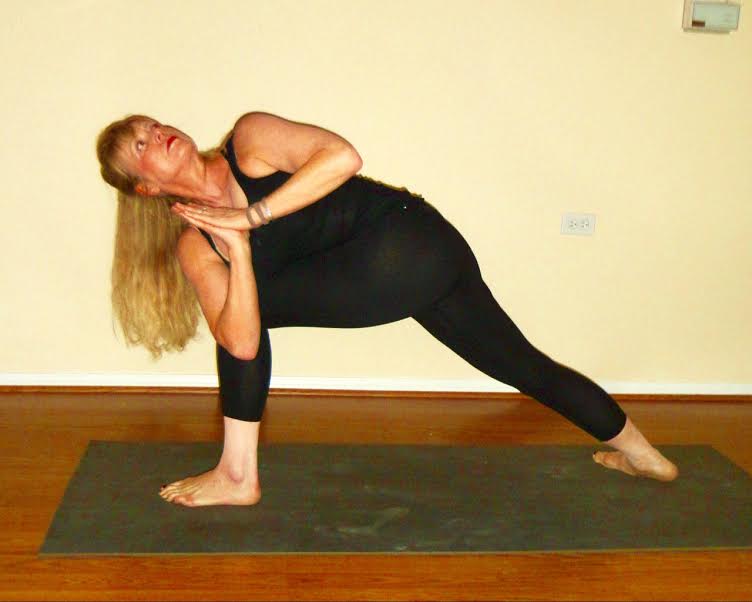
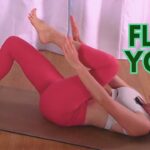
***4a. MODIFICATION – Place your elbow on the thigh with the palm facing upward. Press firmly into the arm and point your torso toward the side wall. Keep the front knee bent and the legs firm and stable. If this fatigues you …you may come out of the posture, rest for a moment… and then try again. Repeat on the other side.
laura side angle modification
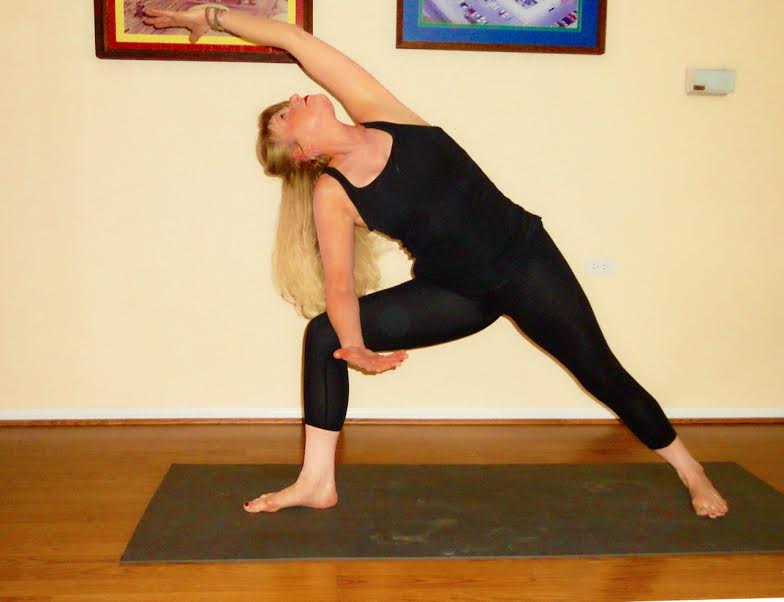
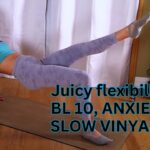
Moving toward intermediate***4b. The full extension of this pose (what you are working toward )is to have the lower arm resting on the floor beside the front foot while the upper arm moves up and over your head toward the front of the room with the pinky finger rotating inward and downward. Ground down with the outer edge of your foot while continuing to reach your top arm overhead. Expand the chest open and breath. This is one of those poses that requires you to think about a lot of things at one time…your body is moving in many directions. Just focus on as many body parts as you are able. Keep doing a mental scan…adjusting where you need to. Eventually, with practice , your brain will begin to work in tandem with your body.
laura side angle full version
MODIFICATION for Revolved Side Angle Pose (Parivrtta Parsvakonasana)
1. Starting out in Tadasana (Mountain Pose) …step your feet 3-4 feet apart …left foot leading. Turn your right foot out to the right about 90 degrees and your left foot in slightly to the right…Everyone’s body is a little different and your will find the shift that is right for you with time and practice. Align the heel of both feet with each other. Hug the muscle to the bone in both thighs and rotate your right thigh outward so that the knee is in line with the ankle. I understand that this is now starting to feel like a contortionist act…just try to focus and keep your body firm yet flexible.
2. Exhale deeply and rotate your torso to the right until your torso is facing directly out over the right leg. With strength and focus bend your right knee to a 90 degree angle.
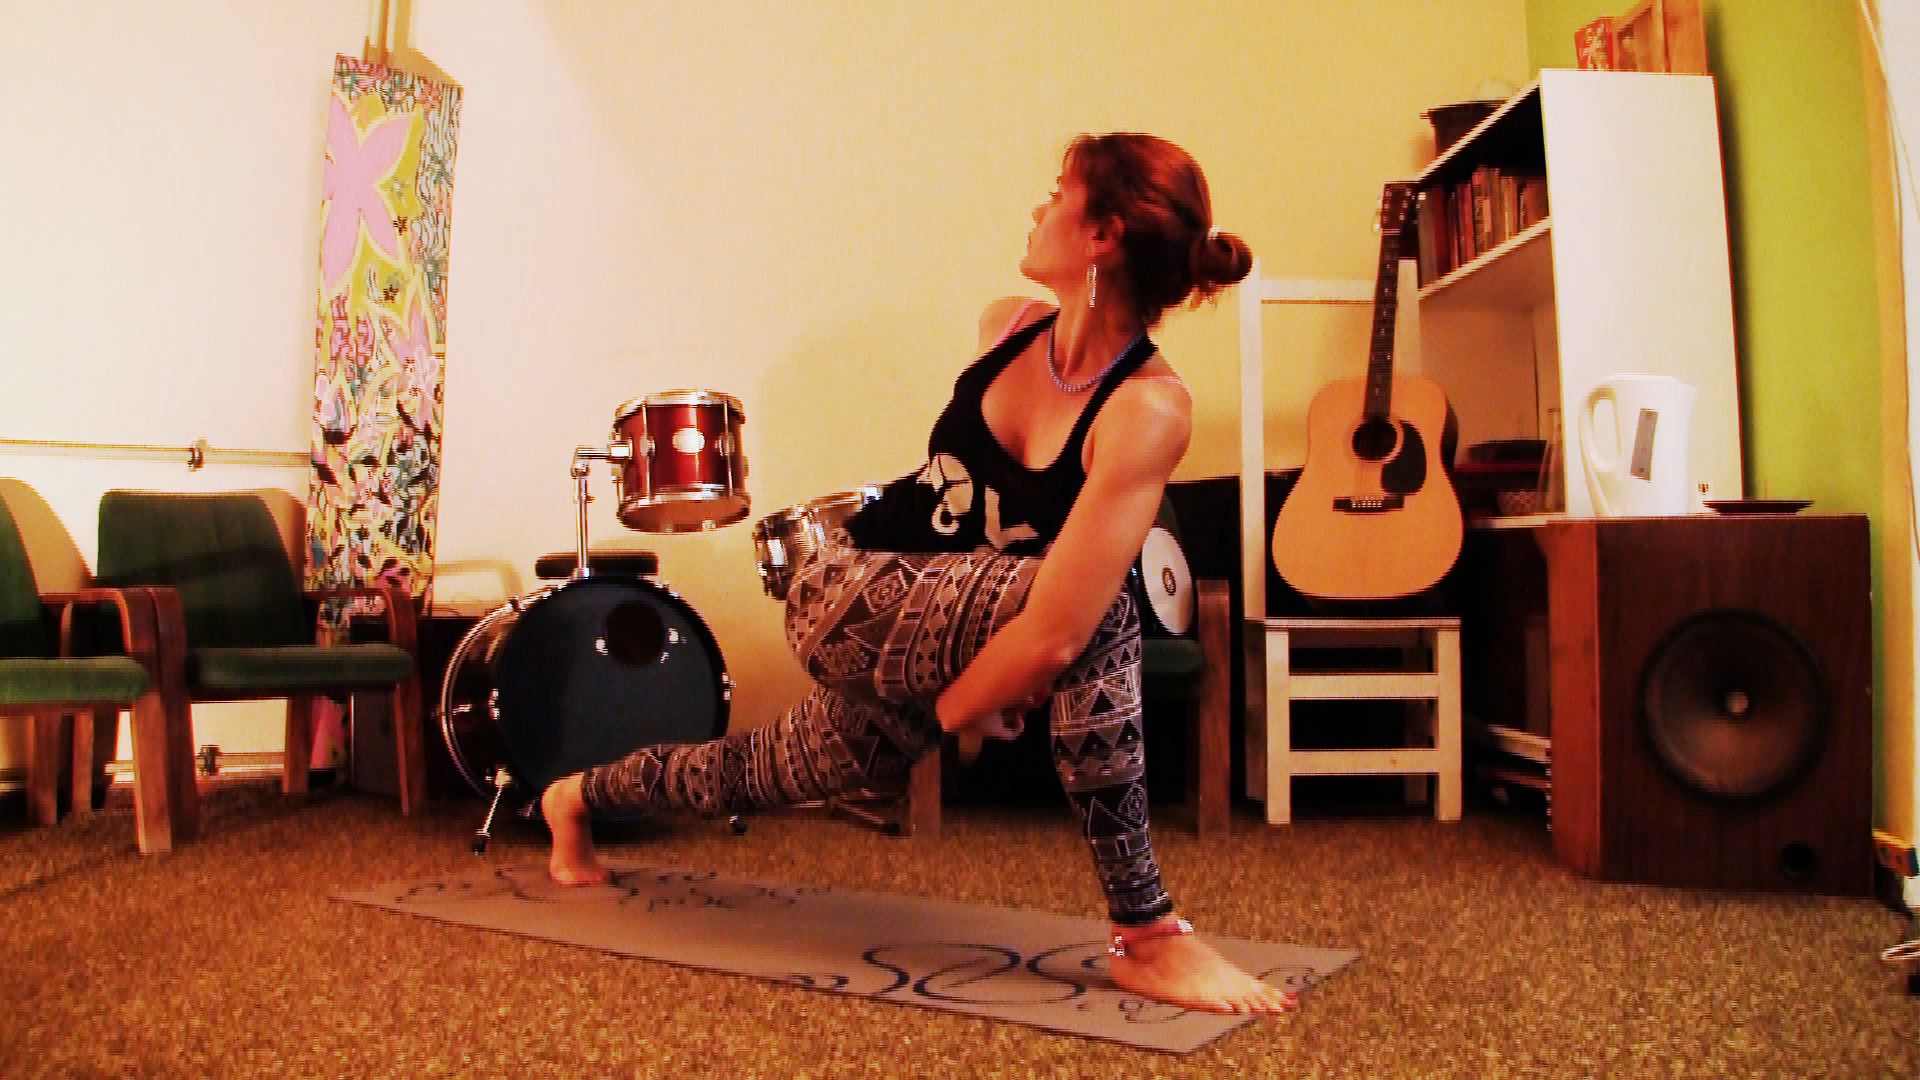
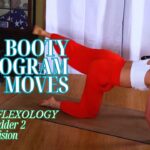
3a. MODIFICATION ONE – It is often difficult for a beginning student to revolve into the twist while having the foot on the straight leg pressed inward…Here you can alter the back foot from pressing inward to balancing on the ball of the foot. Essentially in lunge variation.
revolved side angle lunge variation
3b. Another MODIFICATION for the back foot presses into a wall behind you. You can use the wall to stabilize the rear foot that is pressed inward…it will help you hold balance, stabilize you while allowing you to focus on the twisting of the torso. Make sure you are breathing deeply and that you work to twist more deeply on the deep exhale.
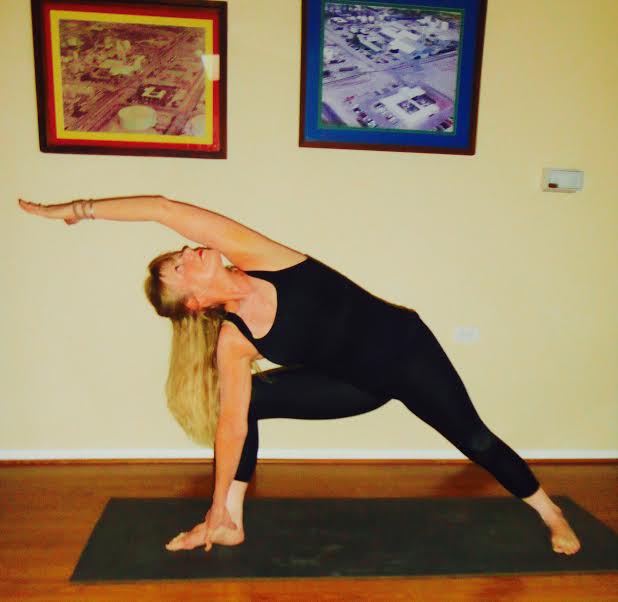
laura revolved side angle!
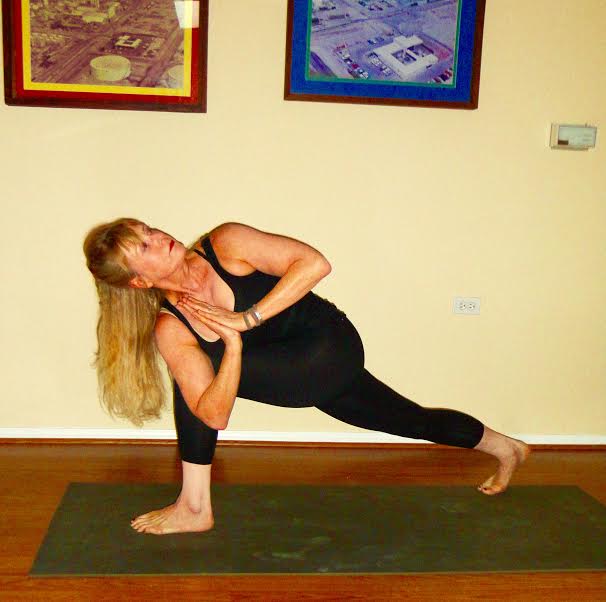
4a. MODIFICATION for the top arm. Extending the arm overhead toward the front of the room is a pretty advanced posture. Until you have learn to hold leg structure and support while twisting the upper body in the opposite direction you can press your hands to your chest center in Namaste (Anjali Mudra). You may not be able to press your hands cleanly to your chest at first. This is a pose that will improve greatly with increased flexibility.
4b. The full extension of the pose will have you place your left hand on the floor outside your right foot…and lastly, you will extend the right arm up and over your head, pinky side down, reaching with a straight arm toward the front of the room. When you have grown to the point of doing this pose to it’s full extension, and you will…you will know you have accomplished something extraordinary!
After practicing Revolved Side Angle on one side…repeat on the other side! This is a beautiful pose for “wringing” out the organs, strengthening , focus and poise, keeping your breath steady and calm, and improving balance.
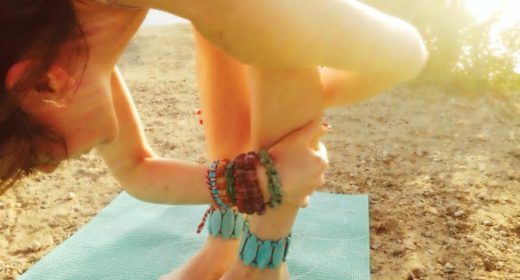
How to do revolved side angle Parivrtta Parsvakonasana easier variation with the hand on the inside of the foot
And this is the more difficult variation with the shoulder and hand outside the front foot.
revolved side angle Parivrtta Parsvakonasana
And of course bound revolved side angle is yet another gradation of this beautiful progression of poses.
revolved bound side angle
It’s beautiful … you are beautiful…love and happiness, xoxox, L
Wonderful Ali!…I think all of the variations…and then from different angles make this really useful…We make a great team my beautiful team my lovely friend! I am going to do your newish interm/adv class now and the new ab class tomorrow! I can’t wait! They both look like great fun! xoxox, Ever with love , happiness and devotion…xo, L
ah let me know how you like the class. hehe i think you did a fabulous job explaining all the beginner variations and progressions. i did add a few more advanced ones as something to look forward to. 😀
I think the addition of the more advanced postures is great…It is the “carrot at the end of the stick!” An amazing job Ali, as always…xoxox, L